Getting Started
Quick CDN Startup Guide - 15 Minutes to Faster Website
Updated on August 30, 2025
Make your website 3x faster in just 15 minutes. Complete step-by-step CDN setup guide that anyone can follow, even complete beginners.
Sign Up BunnyCDN
Get $5 free credit and create your account in 3 minutes.
WordPress Setup
Easy plugin setup for WordPress sites - takes 5 minutes.
Manual Setup
Setup guide for custom websites and platforms.
What Next?
Verify everything works and fix common issues.
What You'll Achieve
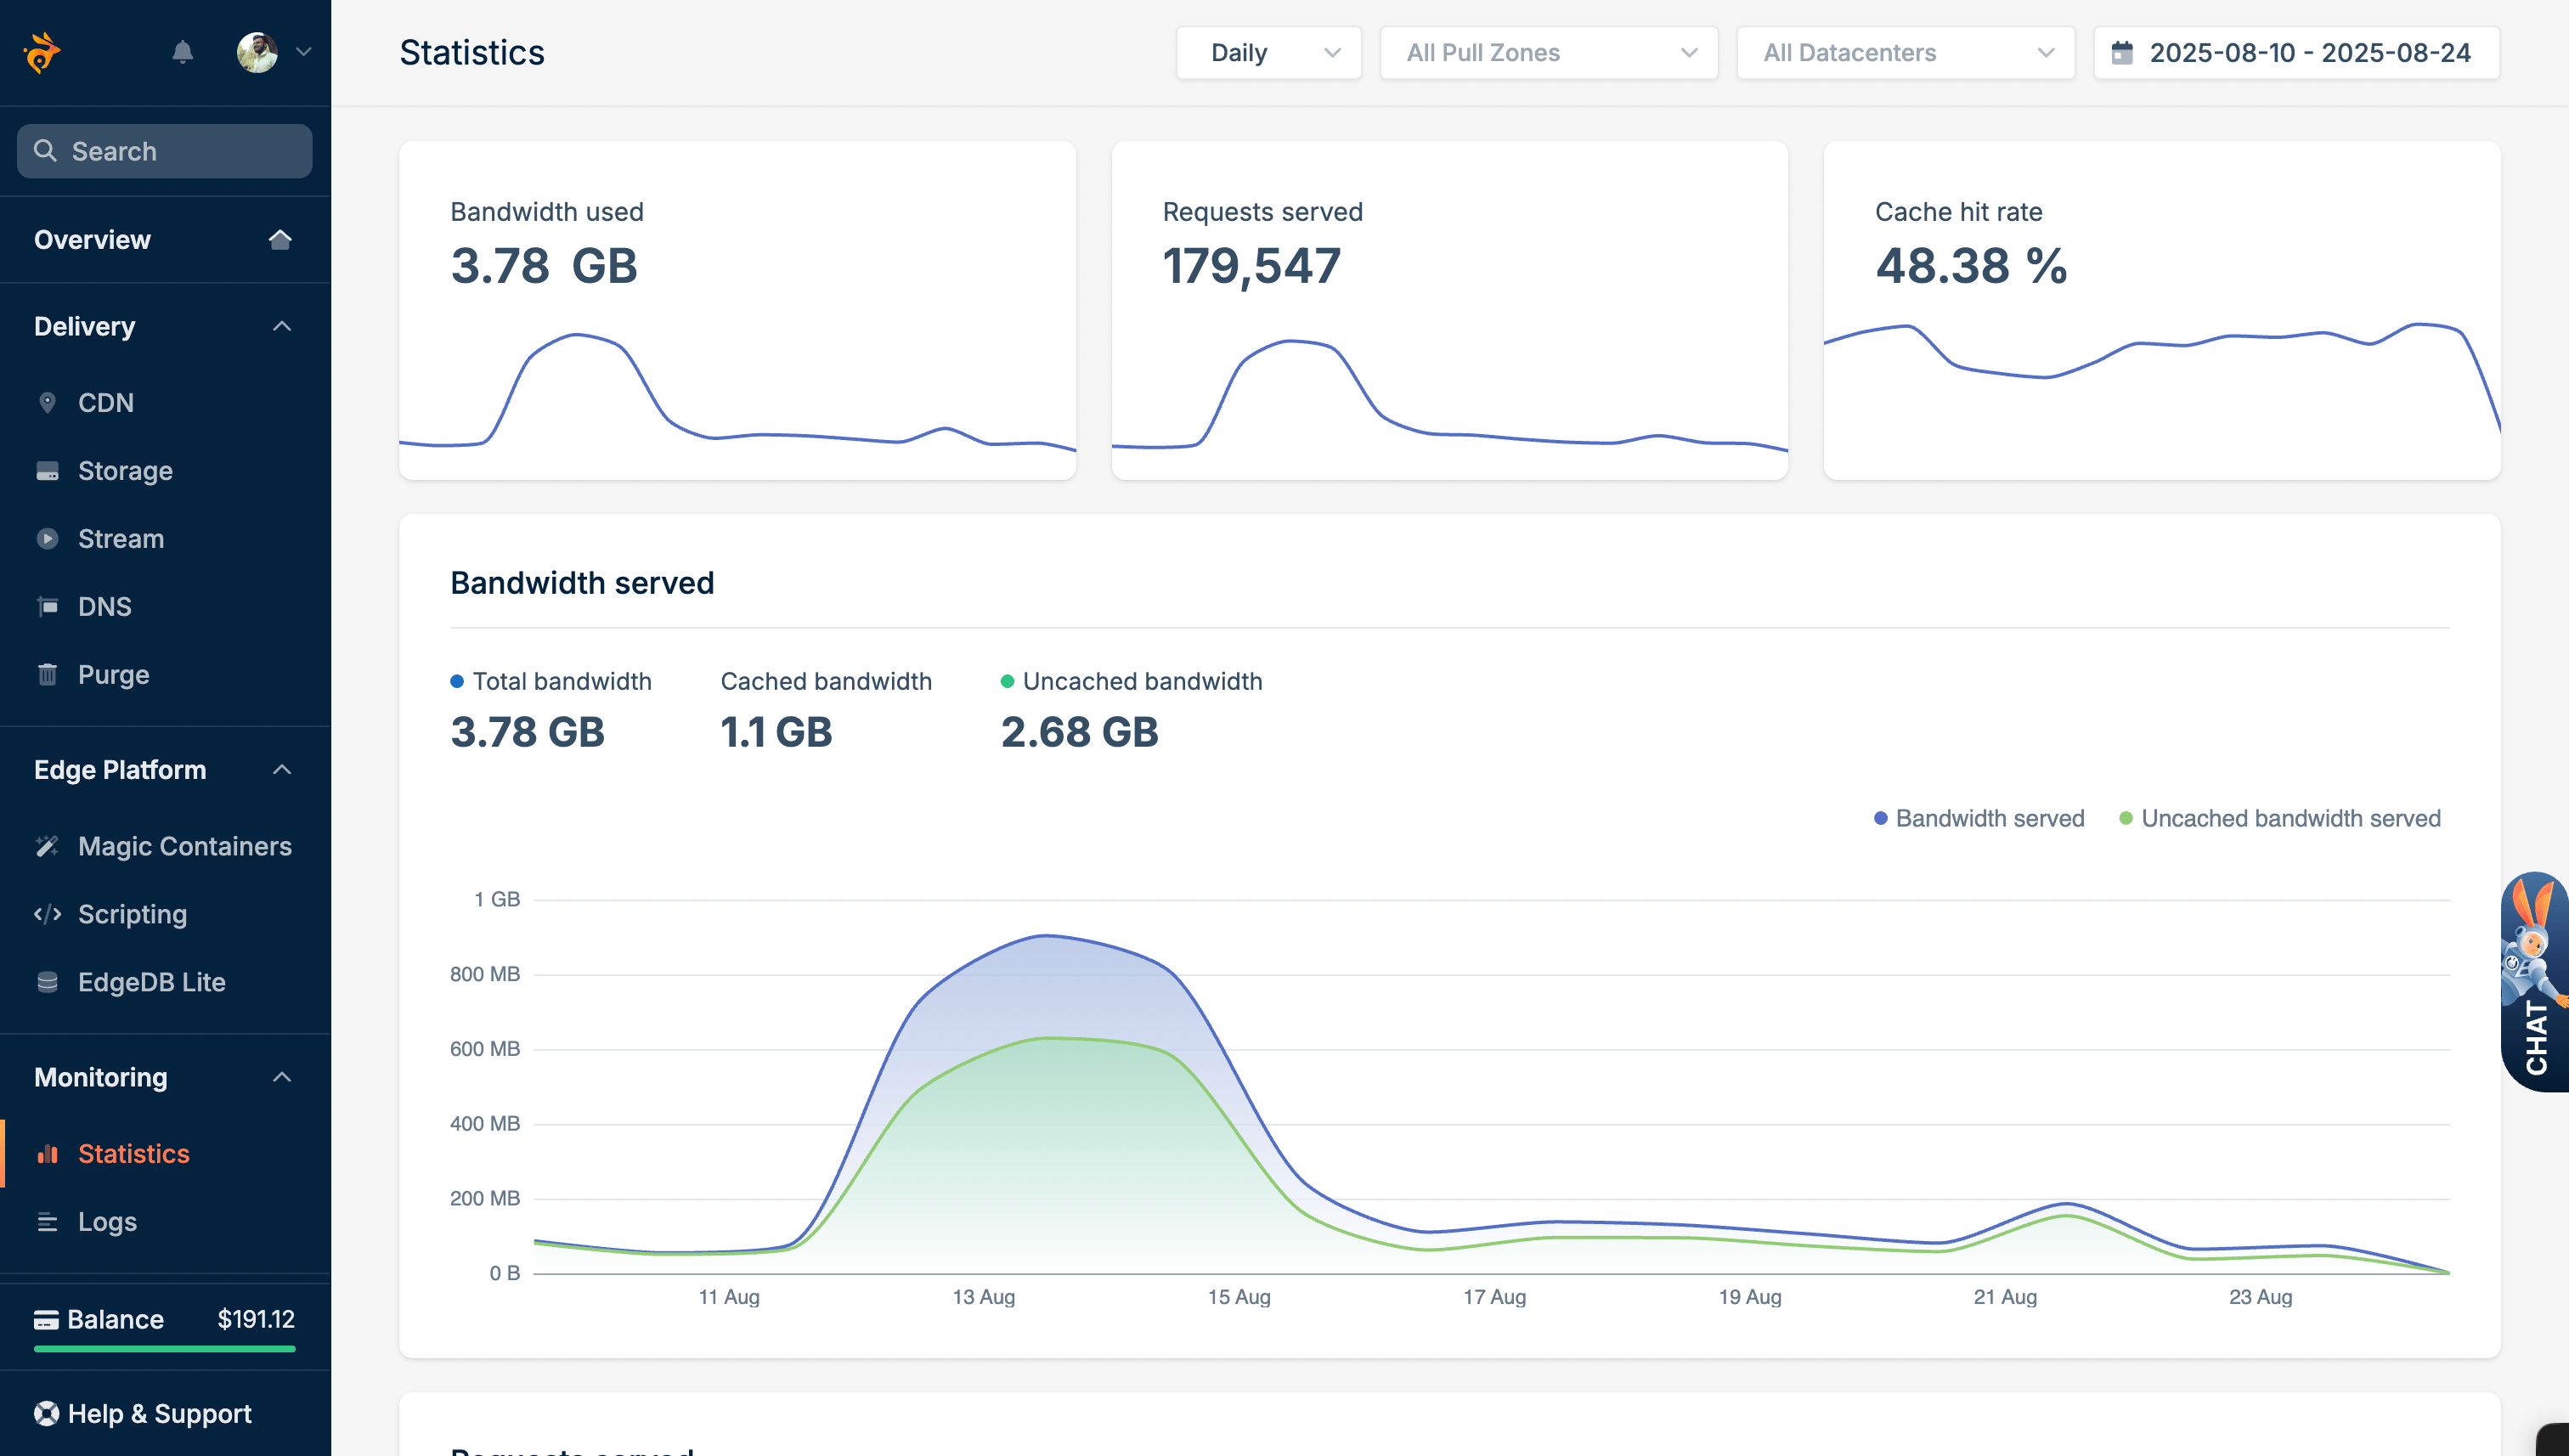
Your website will load 50-70% faster immediately. Most sites see 2-4x speed improvements with proper CDN setup. Not sure if you need a CDN? Check our decision guide.
Use "TheWPX" coupon after signup!
What You'll Need
- Website access with cPanel / WordPress admin panel
- 15-20min of time
That's it! No coding or technical knowledge required.
Step 1: Sign Up for BunnyCDN
Time needed: 3 minutes
Get $5 free credit that covers 2-6 months for most small websites. Follow these exact steps:
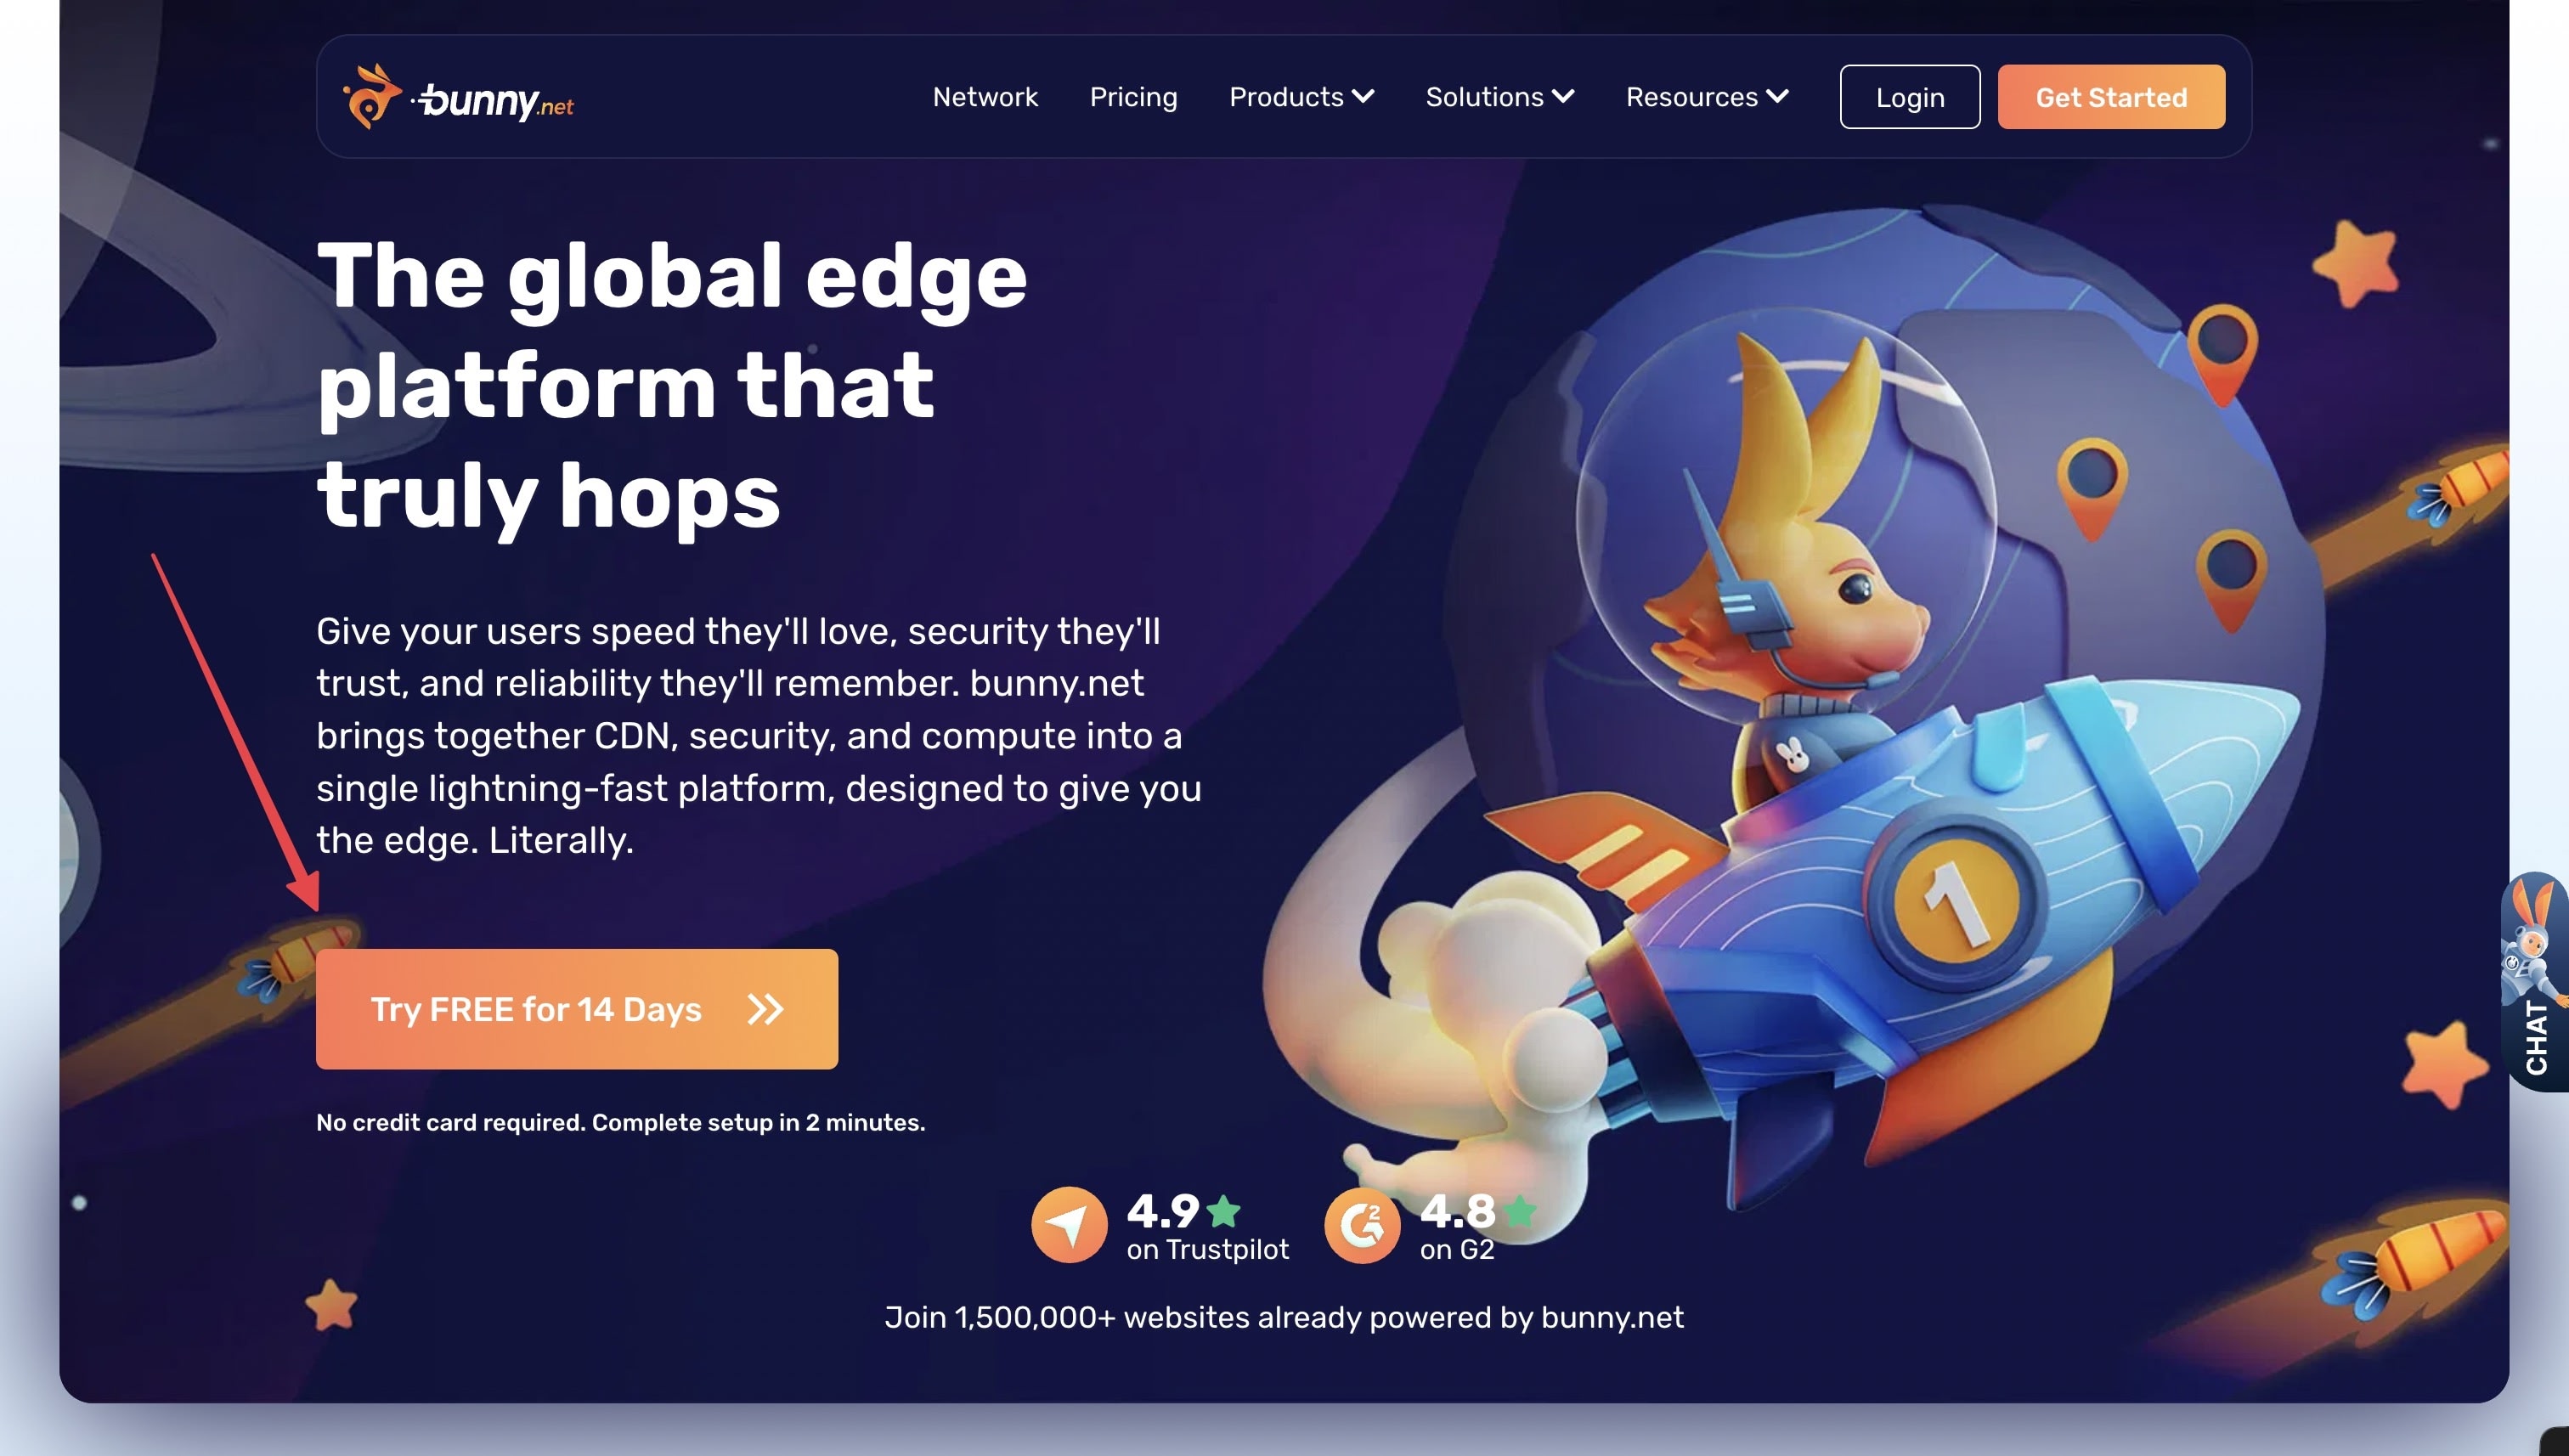
Visit BunnyCDN and Click "Try for FREE"
First of all, click on this link to visit BunnyCDN and click the "Try for FREE" button on the homepage.

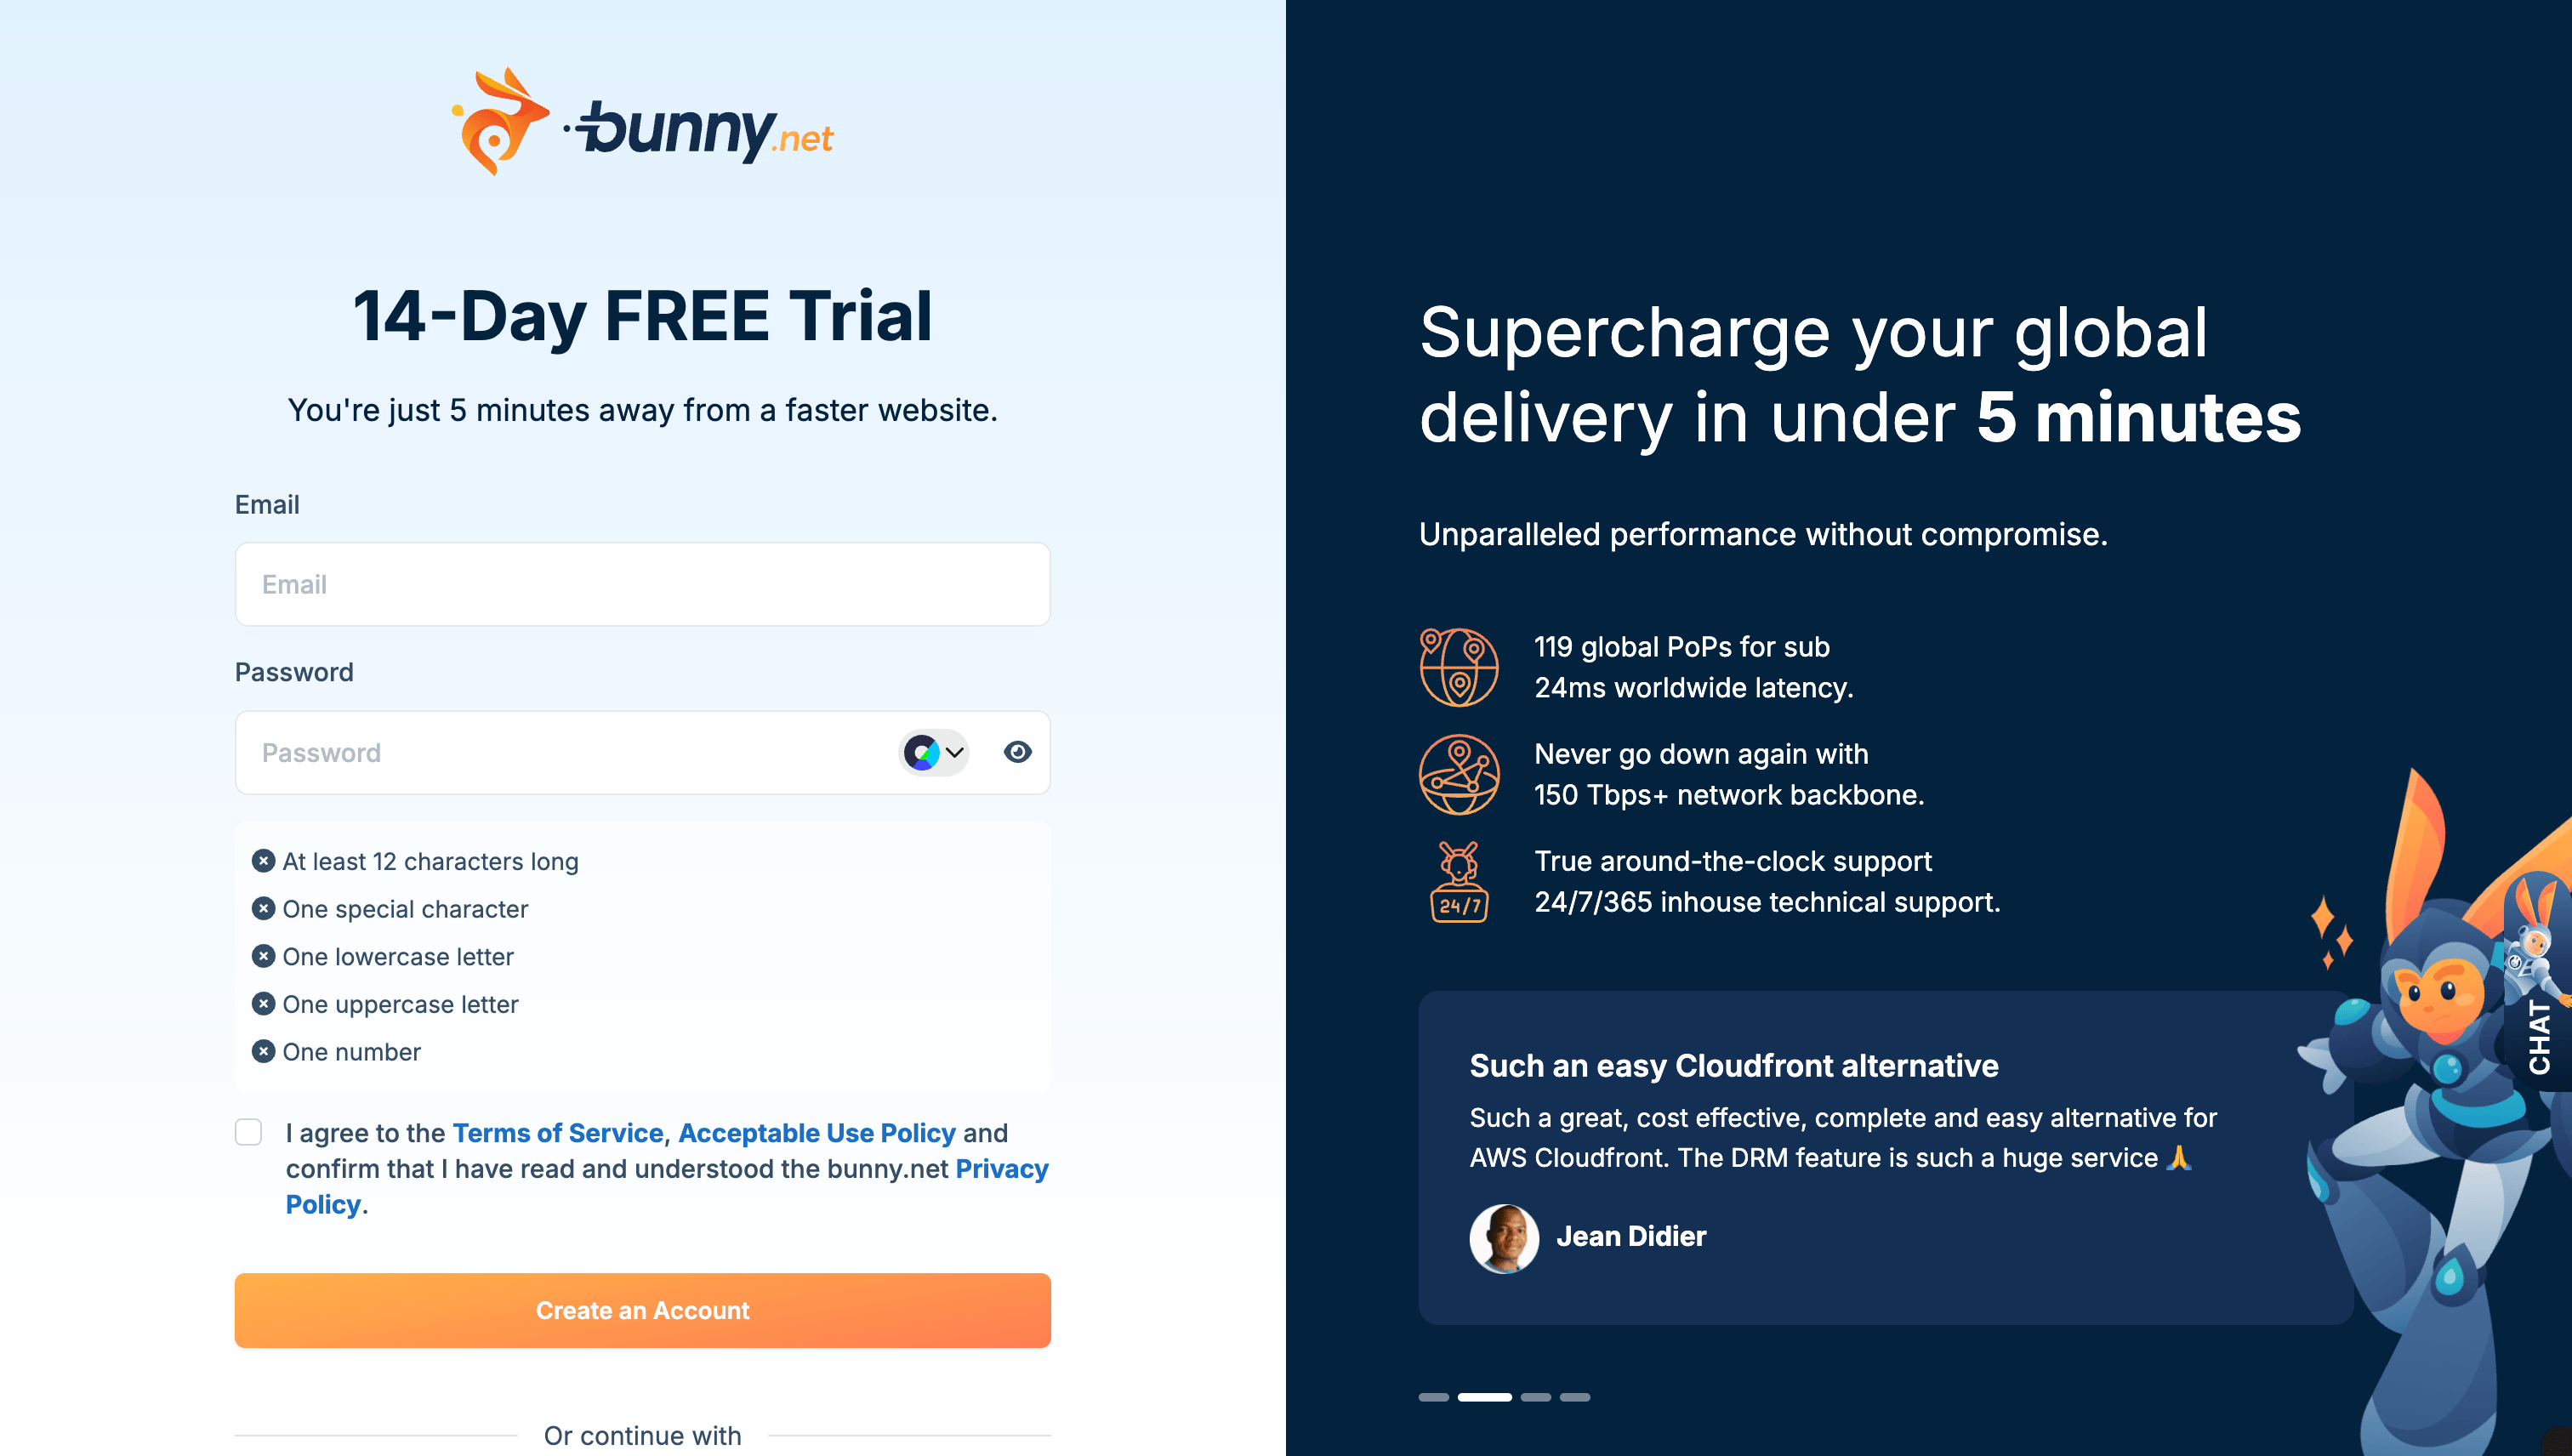
Sign Up and Verify Email
Fill out the registration form with your email and password. Check your inbox and click the verification link to activate your account.

Go to Billing Section
In your dashboard, click "Billing" in the sidebar to access billing settings.

Add Billing Information
Complete your billing details (required but you won't be charged):
- Full name and address
- Email confirmation
As we already have a verified account, we're skipping this step!
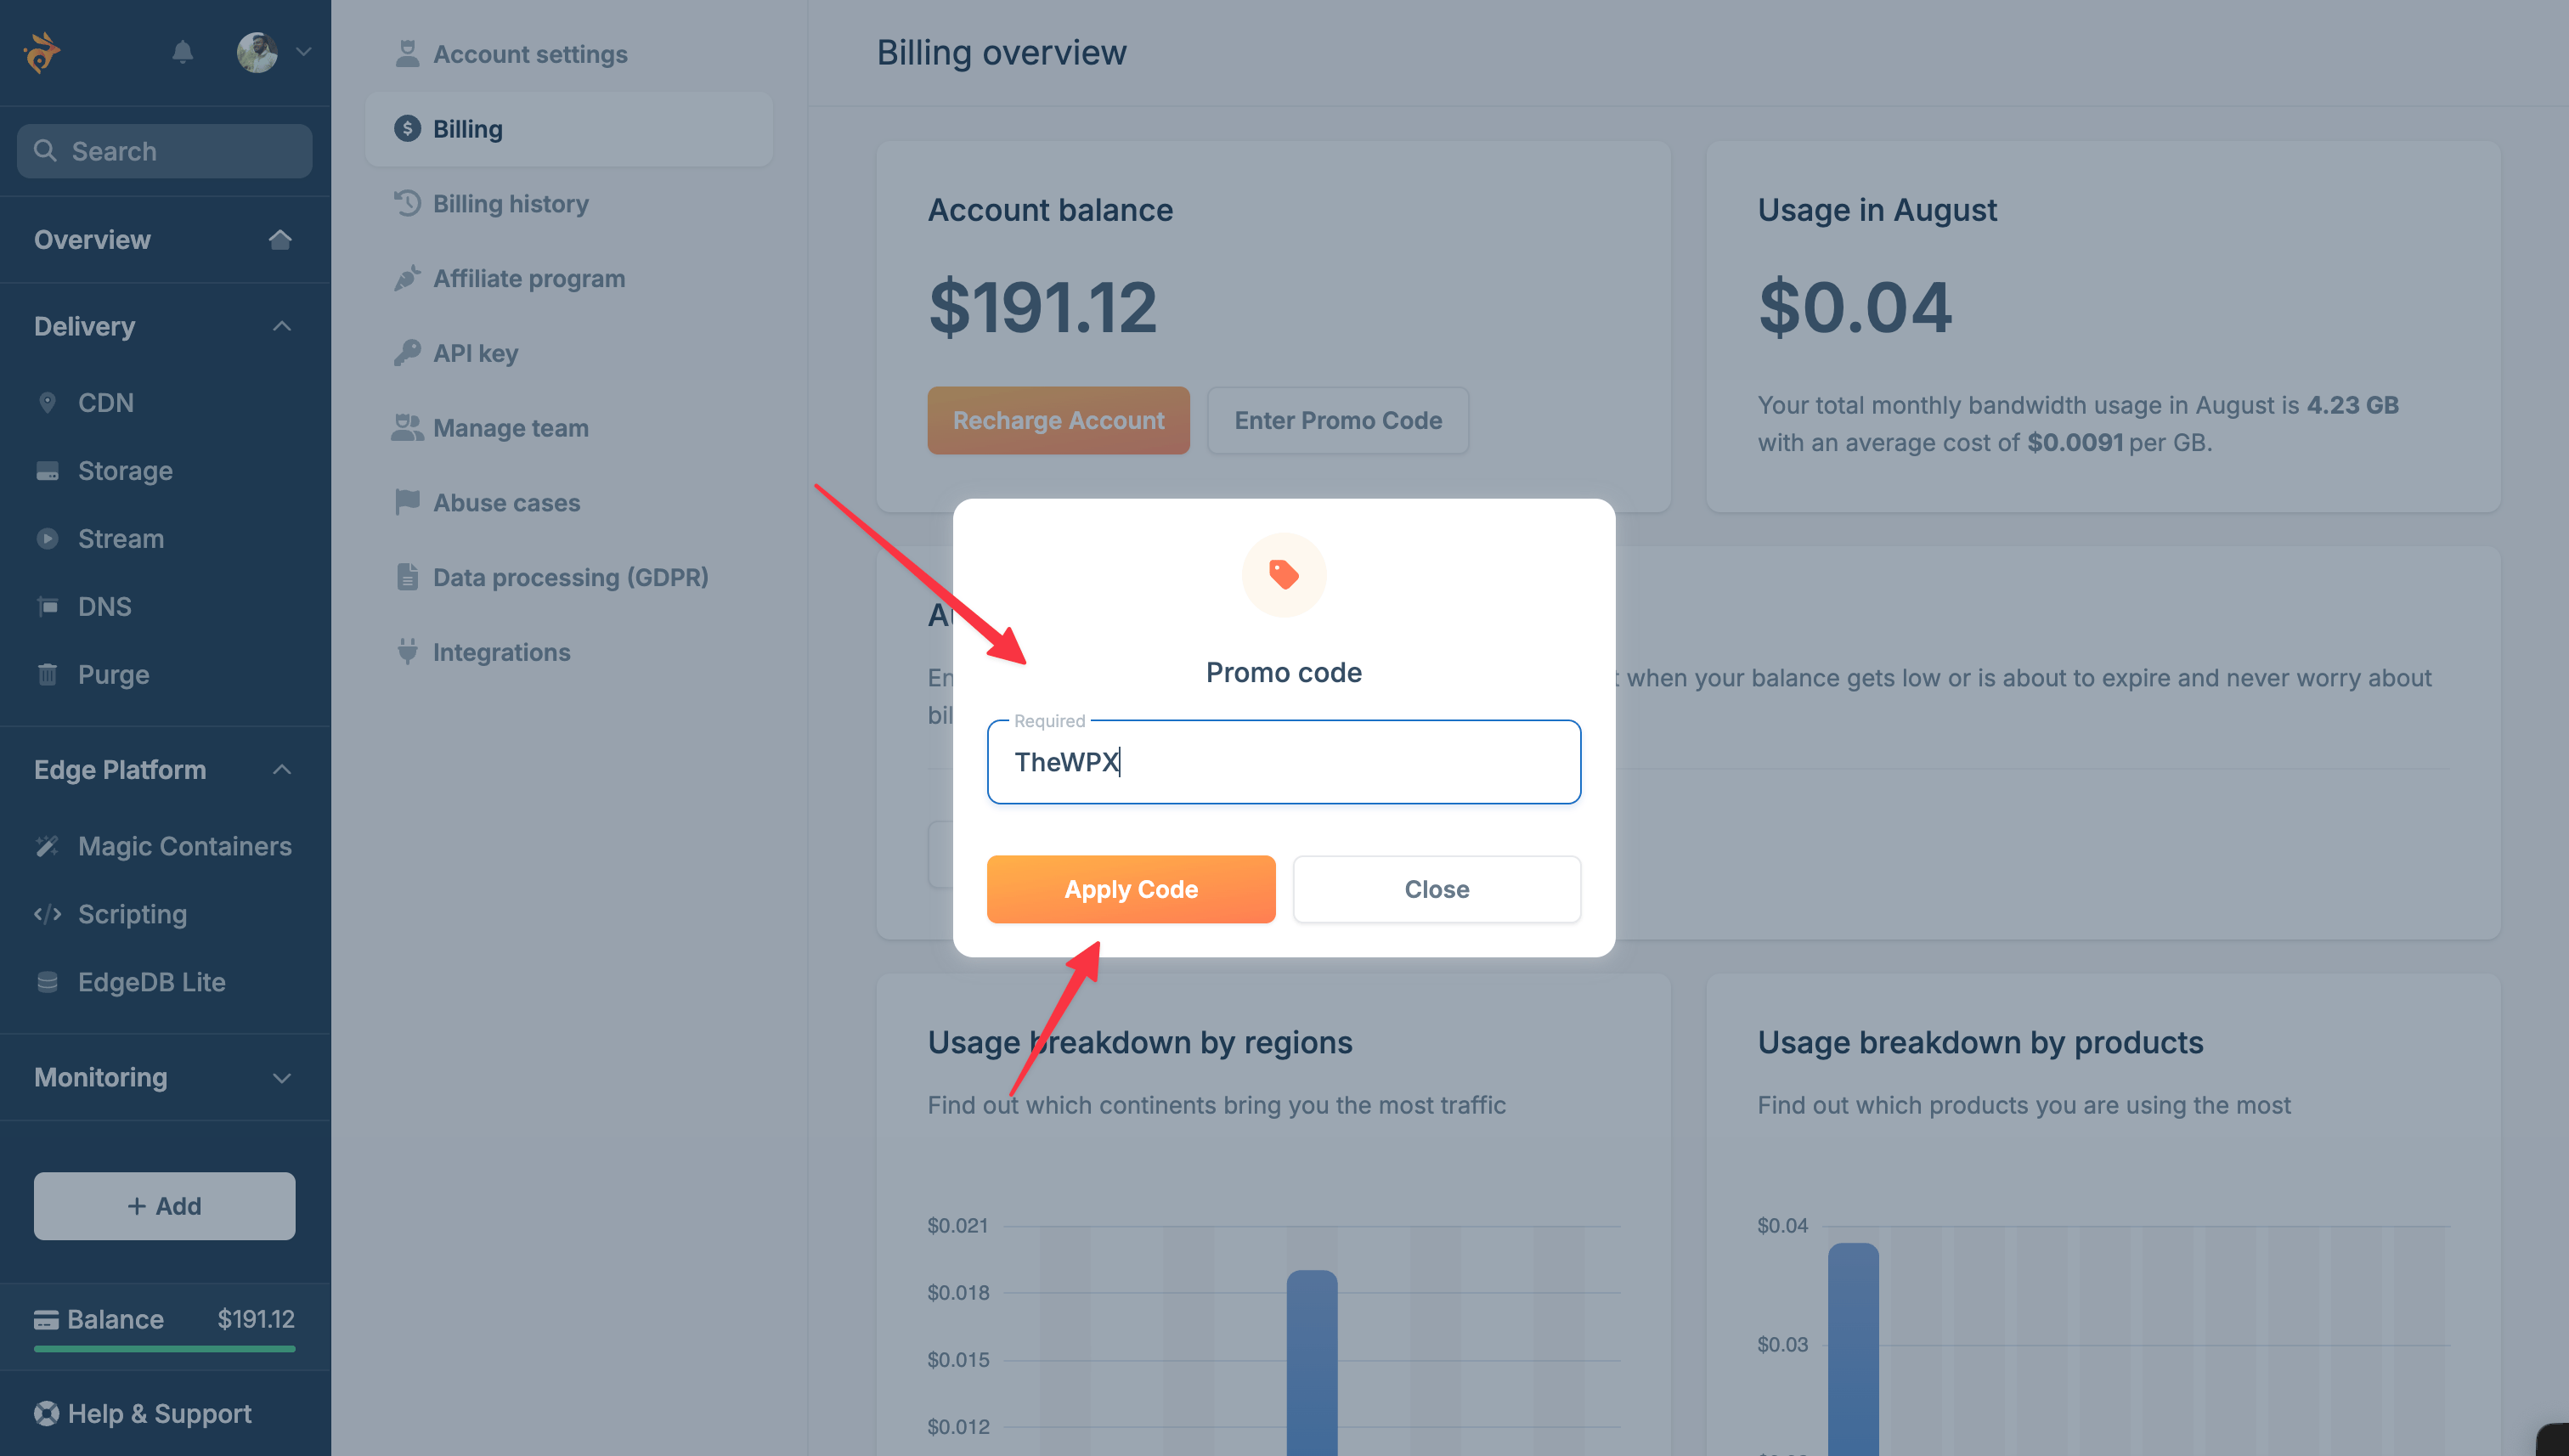
Enter Promo Code "TheWPX"
Find the "Enter Promo Code" field and type TheWPX exactly. Click "Apply" to activate your $5 credit.

Done! Your account now has $5 free credit and you're ready for Step 2.
Step 2: Create Your CDN Zone
Time needed: 2 minutes
BunnyCDN makes this super easy. Want to understand the difference? Read our Image CDN vs Traditional CDN comparison:
| Step | What to do |
|---|---|
| 1 | Click "Add Pull Zone" in dashboard |
| 2 | Enter your website URL (like https://yoursite.com) |
| 3 | Choose zone name (like yoursite-cdn) |
| 4 | Select "All" regions for global speed |
| 5 | Click Create |
BunnyCDN automatically tests your site and sets everything up.
Step 3: Connect CDN to Your Website
Choose your setup method:
For WordPress Sites (Easiest)
Time: 5 minutes
WordPress makes this super simple:
- Install plugin: Search "BunnyCDN" in WordPress plugins or click here to download the plugin from WordPress repository.
- Enter these details:
- CDN URL:
https://yoursite-cdn.b-cdn.net - Zone ID: Copy from BunnyCDN dashboard
- API Key: Get from Account Settings
- CDN URL:
- Toggle "On" and you're done!
- Test: Visit your site - images should load from CDN
For Other Websites (Manual)
Time: 10 minutes
Just update your image URLs:
Before:
<img src="/images/photo.jpg" alt="Photo" />
After:
<img src="https://yoursite-cdn.b-cdn.net/images/photo.jpg" alt="Photo" />
Do this for all images, CSS background images, and other assets.
If you want, you can also add this CDN URL to your DNS settings, assign your domain to BunnyCDN, and create branded CDN URL like https://static.example.com.
Step 4: Test Your Setup
Time: 5 minutes
Make sure everything works perfectly:
Quick Test Checklist
- [ ] Website looks normal
- [ ] Right-click images → "Inspect" → URLs show CDN domain
- [ ] Test on mobile phone
- [ ] Run Google PageSpeed test
If you don't see improvements, check the troubleshooting section below.
Bonus: Enable Image Optimization
Time: 2 minutes | Cost: $9.50/month
For maximum speed, add automatic image optimization:
What it does:
- Compresses all images automatically
- Converts to WebP format (much smaller files)
- Optimizes differently for mobile vs desktop
Recommended settings:
| Image Type | Quality | WebP | Mobile Optimization |
|---|---|---|---|
| Photos | 85% | Yes | Yes |
| Logos/Graphics | 95% | Yes | Yes |
Results: Images become 60-80% smaller with no visible quality loss. Learn more about image format optimization.
What's Next?
Week 1: Fine-tuning
- Test all website features
- Adjust image quality if needed
- Set up caching rules
Month 1: Performance Check
- Compare PageSpeed scores
- Check Google Search Console
- Monitor costs and usage
Month 3+: Advanced Setup
- Multiple CDN zones for different content
- Video streaming (if needed)
- Enterprise features for high traffic
Most people are happy with basic setup and never need advanced features.
Ready to Get Started?
Your website can be 3x faster in the next 15 minutes.
